How To Use Snapseed App To Edit Photos Like A Pro- PART 1

Today I am going to show how to edit photos using Snapseed App.Snapseed is the best and easiest photo editing app I ever used.Snapseed is a complete and professional photo editing app developed by Google. It has over 50 million downloads in Android Play Store.And also a average rating of 4.5 stars.This blog post will explain about five tools of Snapseed.Here is the link to download the app.

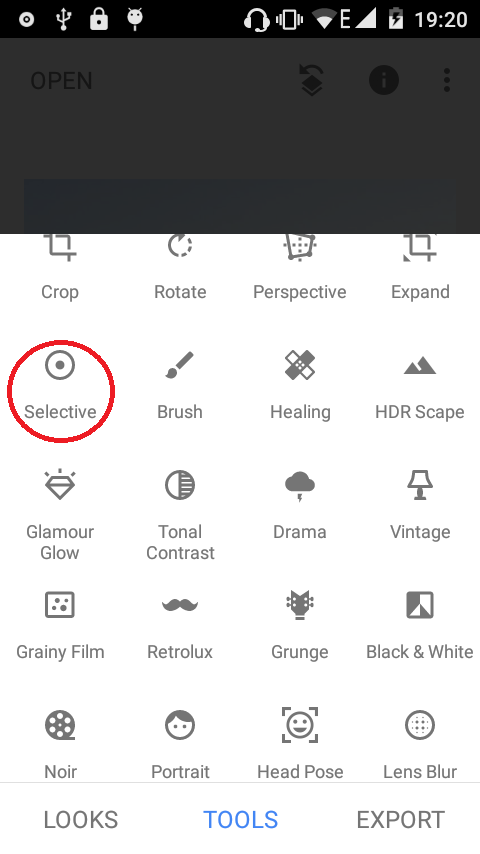
- Selective
In this you can change Brightness,Contrast,Saturation and Structure of the selected area.To change between them you have to touch and hold while sliding upwards or downwards.To change the selected are size you have to touch with two fingers and zoom in or zoom out.Then let's see how to use the features inside Selective tool.

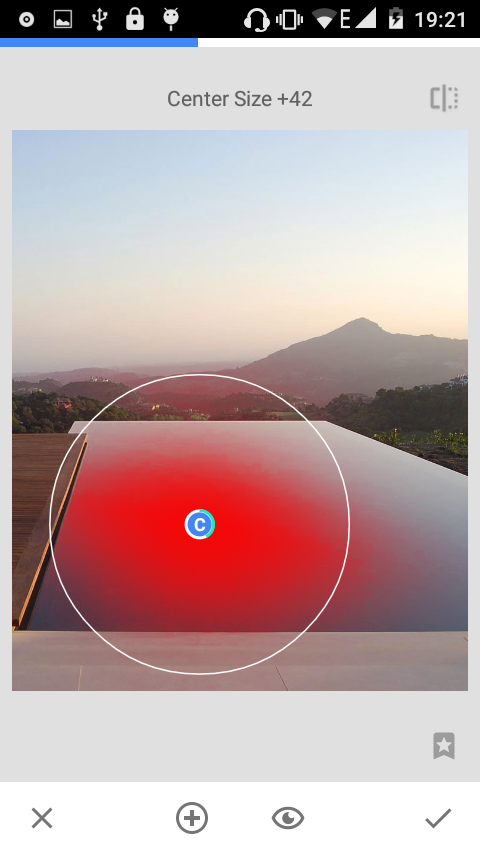
- Brightness
By using Brightness feature you can make your photo brighter or darker by a specific amount.To increase you have to slide towards right side and to decrease you have to slide towards left.This increasing and decreasing steps applied to all the features.

- Contrast
Contrast is the separation between brightest and darkest area s of picture.By increasing you can highlight shadows and darker areas.

- Saturation
Saturation is little bit similar to contrast.But by using Saturation feature you can improve or decrease the separation between colours.

- Structure
Structure feature add High Definition to your picture.

2.Lens Blur
What can you do using this tool.You can focus an object of your picture using lens blur.
You can change lens type by clicking following button.There are two types of lens types.One is circular and the other one is strips.

By clicking the bellow icon you can edit advance details which are following
- Blur Strength-You can change how much it should blur the rest are around lens
- Transition-You can change the visibility of lens frame
- Vignette Strength-You can darker the edges of your picture by increasing the value

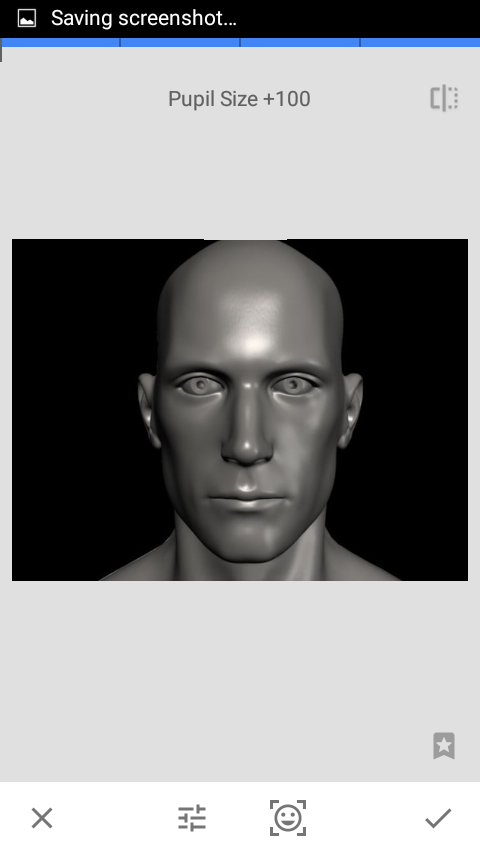
3.Head Pose
In this tool you can change your pupil size,facial expression(sad/smile) and focal length.
To select between feature click the following icon (This applies to all.)


4.Vignette
By using this tool you can fade the background without proper border.After putting the vignette you can adjust inner and outer brightness separately.


5.Healing
This is a quick option to erase unwanted spots and disappear them from your picture.

Further tool details will be posted in future posts.Please share your ideas in the comment section below.


This is a very interesting article to read. Thank you for giving very good information. Nice post.
ReplyDeletebigo live is Nice app. connect friends and relatives.
Download the application
BIGO LIVE PC CONNECTOR
BIGO LIVE PC FREE DOWNLOAD
BIGO CONNECTOR
BIGO PC DOWNLOAD
BIGO LIVE FOR WINDOWS 7
BIGO LIVE PC CONNECTOR
BIGO LIVE FOR PC